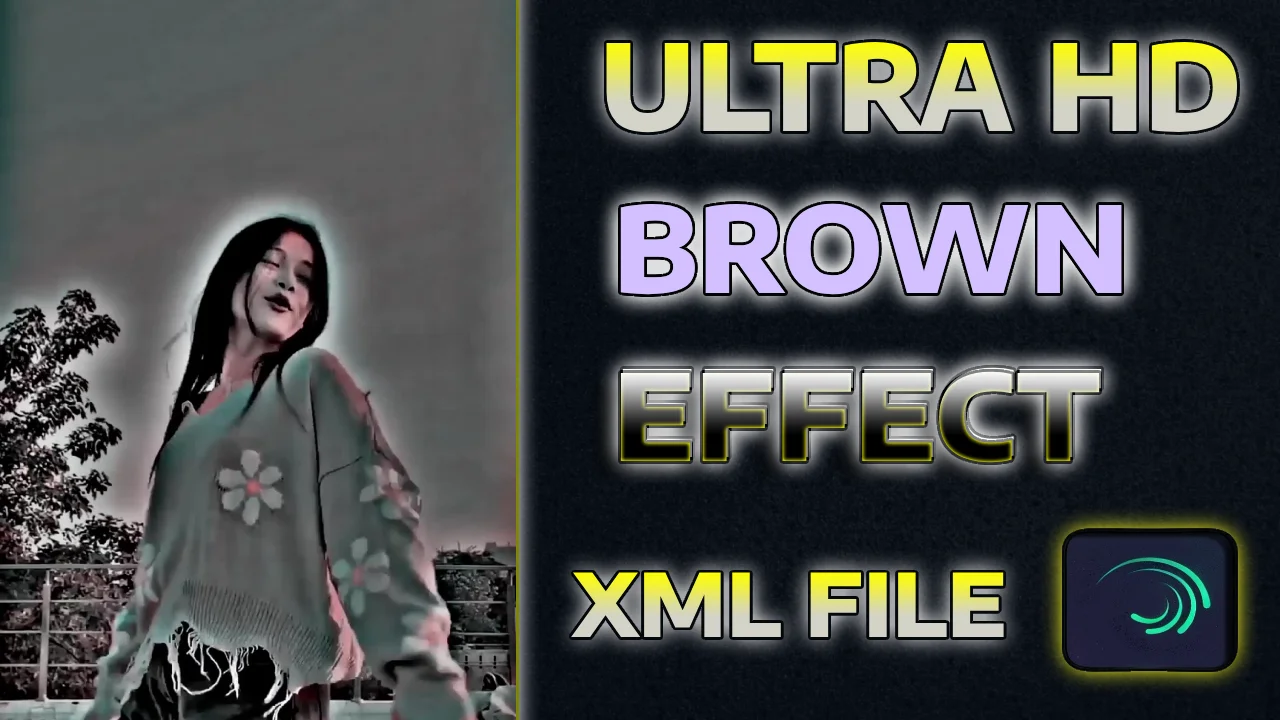
If you want to create stunning, cinematic color grading in Alight Motion, you’re in the right place! In this step-by-step tutorial, we’ll guide you on how to enhance your video’s look with Ultra HDR iPhone-style color grading techniques. Follow this simple guide and elevate your video editing skills.

Table of Contents
Step 1: Open Alight Motion and Set Up Your Project
Open Alight Motion on your device.
Tap on the “+” icon at the bottom of the screen.
Set the video aspect ratio according to your preference.
Click “Create Project” to start editing.
Step 2: Import and Trim Your Video
Tap on the “+” icon again and select Import Video.
Choose the video clip you want to edit.
Trim the video as per your requirement.
Step 3: Add a Rectangle Layer and Adjust Blending Mode
Tap the “+” icon and add a Rectangle Shape.
Click on the three dots at the top and select Stretch to Composition Area.
Navigate to Colors and Fills and change the rectangle color to white.
Go back and tap on the Blending & Opacity option.
Select Exclusion under the Difference section.
Step 4: Duplicate Layer for Enhanced Contrast
Tap on the screen and select the Main Layer.
Click on the Layer Icon and select Duplicate Layer.
Drag the duplicated layer above the original layer.
Select the duplicated layer and open the Blending & Opacity settings.
Under the Contrast section, choose Hard Light.
Step 5: Apply the Effect to the Entire Video
Tap on the screen and scroll to the end of the video.
Select the Rectangle Layer and ensure it covers the entire video.
Now, export the video by clicking the Export button.
Step 6: Final Adjustments in Google Photos
After exporting, follow these steps in Google Photos for final adjustments:
Open Google Photos and select the exported video.
Tap Edit and scroll to Adjust settings.
Modify the following settings:
Brightness: -12
Contrast: -30
HDR: Skip
White Point: Complete back
Highlight: Complete back
Shadow: +24
Black Point: -40
Saturation: +90
Warmth: -11
Tint: +11
Skin Tone: Complete back
Blue Tone: Full
Once adjustments are complete, tap Save as Copy.
Conclusion
Congratulations! You have successfully applied Ultra HDR iPhone-style color grading in Alight Motion. With this method, you can enhance your video quality and achieve a cinematic and eye-catching look. Experiment with these settings to match your creative vision.
For more Alight Motion tutorials, stay tuned to our blog at AlightMotionFX.com!


