How to Mask on Alight Motion has become a highly searched topic, thanks to the platform’s growing popularity in video editing. With its versatile features, Alight Motion enables users to create professional-quality videos. One standout feature is masking, which allows you to control the visibility of specific elements in your video. Whether you’re looking to highlight a particular area or create intricate visual effects, masking is essential.
In this comprehensive guide, we’ll cover the basics and advanced techniques for masking on Alight Motion. Let’s get started!

Table of Contents
What is Masking in Alight Motion?
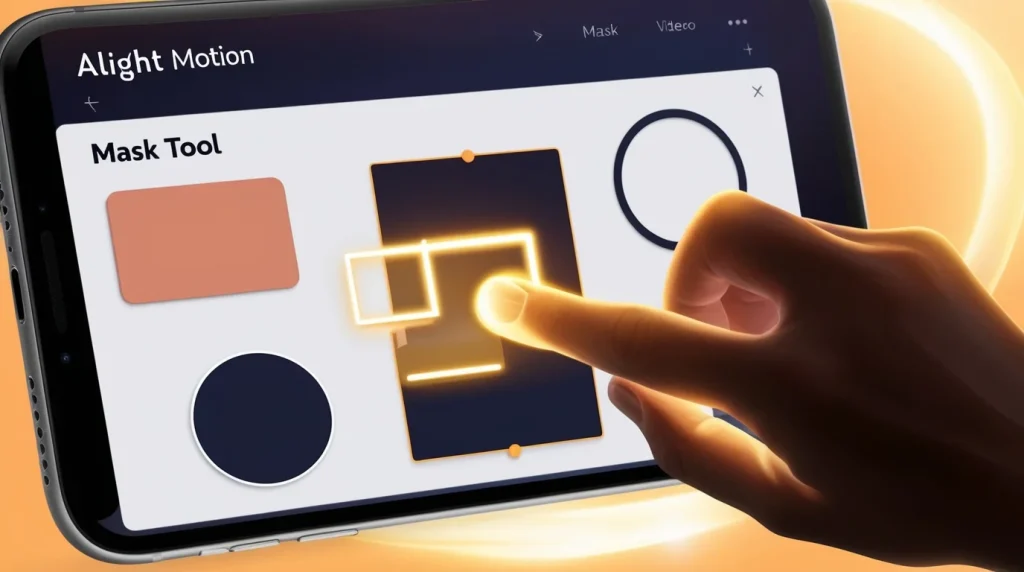
Masking in Alight Motion is a feature that allows you to hide or reveal parts of your video, image, or text by applying a mask layer. Think of it as a stencil that only shows certain parts of your footage, creating dynamic effects and transitions.
This feature is a game-changer, especially for those wanting to add a professional touch to their videos.
How to Mask on Alight Motion: Step-by-Step Tutorial
Here’s a step-by-step breakdown of how to use the masking feature effectively:
1. Select Layer
Open your project in Alight Motion and select the layer you want to apply the mask to. This can be a video clip, image, or text layer.
2. Access The Mask Tool
To create a mask, go to the toolbar and select the mask tool. This tool allows you to apply different shapes, such as rectangular masks, circular masks, or freeform shapes to your layer.
3. Adjust the Mask Shape
Once the mask is applied, you can resize, move, and rotate the mask to suit your needs. The mask will determine which part of the video is visible and which parts are hidden.
4. Refine the Mask Parameters
To make your masking seamless, adjust the feathering (softness of the edges) and opacity (transparency level). This step is crucial for achieving a smooth and natural look.
5. Animate the Mask
For dynamic effects, you can animate the mask using keyframes. This will allow you to move the mask over time, creating transitions or revealing hidden elements in your video.
6. Save and Export
Once you're happy with your mask, preview the effect, and fine-tune the settings. When satisfied, export your project in your preferred format.
Basic Masking Techniques in Alight Motion
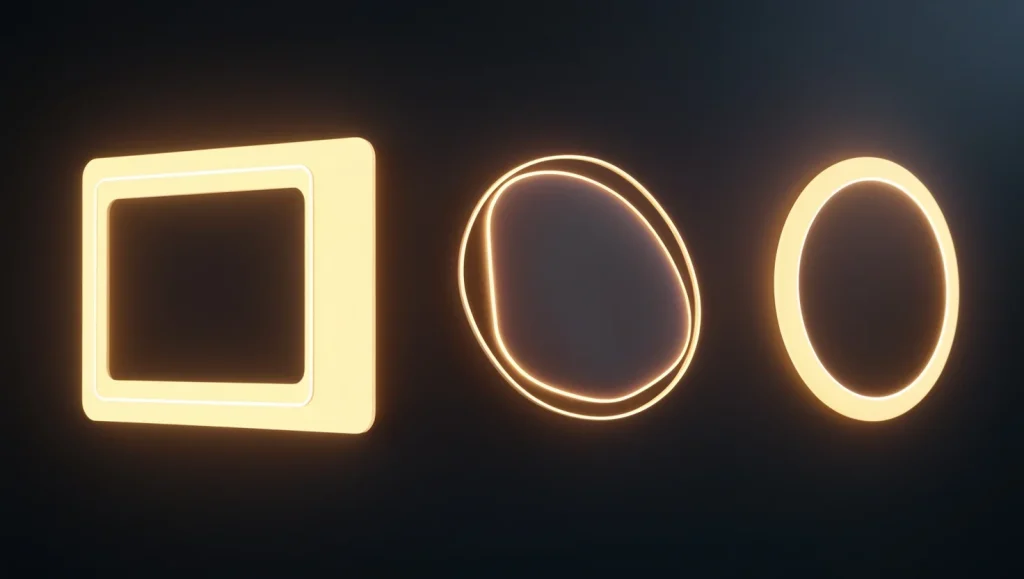
- Rectangular Mask: Ideal for creating simple transitions or highlighting large areas.
- Circular Mask: Great for emphasizing specific elements like faces or logos.
- Freeform Mask: Perfect for creating custom shapes for more detailed masking needs.
Advanced Masking Techniques

- Feather and Opacity Adjustments: These settings allow for smoother transitions between masked and unmasked areas.
- Keyframing: This feature enables you to animate the mask over time for dynamic effects.
- Track Mask: Alight Motion’s tracking feature helps keep the mask on a moving object.
Why Masking is Crucial in Video Editing?
Masking gives you creative control over what’s visible in your video, allowing for better storytelling and visual effects. Whether you want to highlight a subject, create seamless transitions, or add special effects, mastering masking is essential.
Common Mistakes When Masking
- Not feathering the edges, leading to harsh transitions.
- Forgetting to adjust opacity for a seamless blend.
- Misplacing the mask on a moving object without using tracking.
Frequently Asked Questions ( FAQs )
Can I apply multiple masks to a single layer in Alight Motion?
Yes, you can apply multiple masks to a single layer. Simply create additional mask layers and adjust their parameters as needed.
How do I remove a mask in Alight Motion?
To remove a mask, select the mask layer and delete it, or you can adjust the mask settings to nullify its effect.
Can I use masking on text layers in Alight Motion?
Yes, masking can be applied to text layers, allowing you to create visually striking text effects.
Can I animate masks in Alight Motion?
Yes, masks can be animated using keyframes to create dynamic effects such as revealing or hiding elements over time.
Conclusion
Mastering the masking feature in Alight Motion can dramatically improve your video editing skills. Whether you’re creating professional videos or experimenting for fun, masking offers endless possibilities for creativity. With this guide, you now have the tools to get started with both basic and advanced masking techniques.


